
CS2: Optimal Commands To Practice Grenades
Since Counter Strike 2 had all the maps either reworked or redesigned in one way or another, most of the old lineups that existed in CS:GO do not work any more. On top of that, the new smoke grenade mechanics also means that sometimes you need to have them land in a different position than before to achieve the same effect.
I do know that Valve has made it easier to practice grenades with their new practice mode and all the options available in it but, there are still commands that would help in your nade practice routine. I will be sharing some commands to help you practice your utility and lineups and make the experience much smoother.
You can either put all these commands either in a separate .cfg config file and execute them when in-game or adjust them yourself after loading in. Also, some of these can be binded to a key as they are commands that usually need to be entered individually to trigger.
Smoke Lineups Guide:
CS2 Practice mode settings:
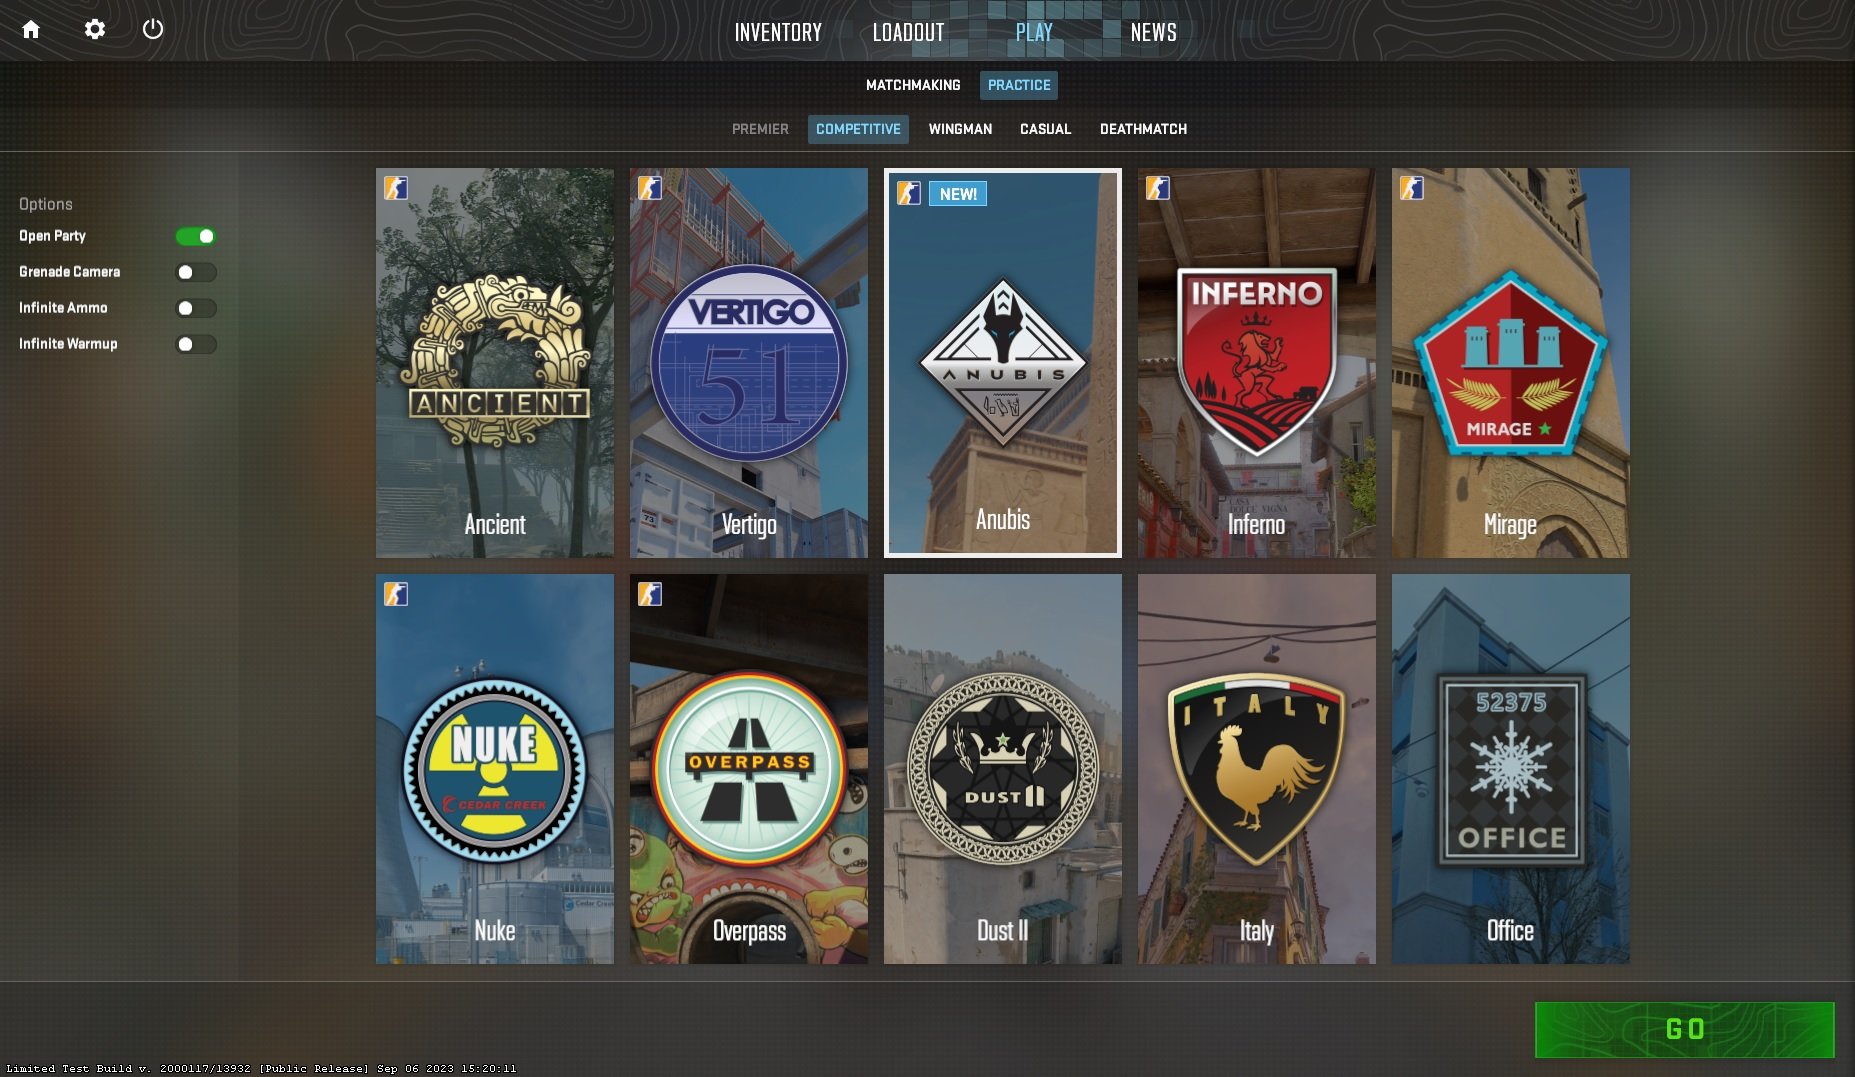
First off, before jumping in you would need to enable the in-game settings in order to have the convenient commands enabled by default without having to tinker with them in-game. In the Play menu, go to the Practice tab and enable the grenade camera, infinite ammo and infinite warmup options.
This helps you practice your utility with the in-built grenade cam without having to enable it via the command (sv_grenade_trajectory_prac_pipreview) while also providing you with infinite ammo and with a never-ending warmup mode which allows you to not worry about the round timer or change the commands for the round timer.

Grenade Line-up Reticle
Previously, for precise lineups players usually used a bind to use a custom crosshair that would draw a huge plus sign on the screen allowing for easier lineups. Now you can line-up your grenades by using the line-up reticle which will do the same thing but also provide you with a ruler as well. You can enable the option in the game settings and also tweak how long you need to hold the pin on a grenade for it to appear and if your crosshair appears along with it or not. This makes it much easier to throw any grenade that requires precise aiming.


Line-up Annotations
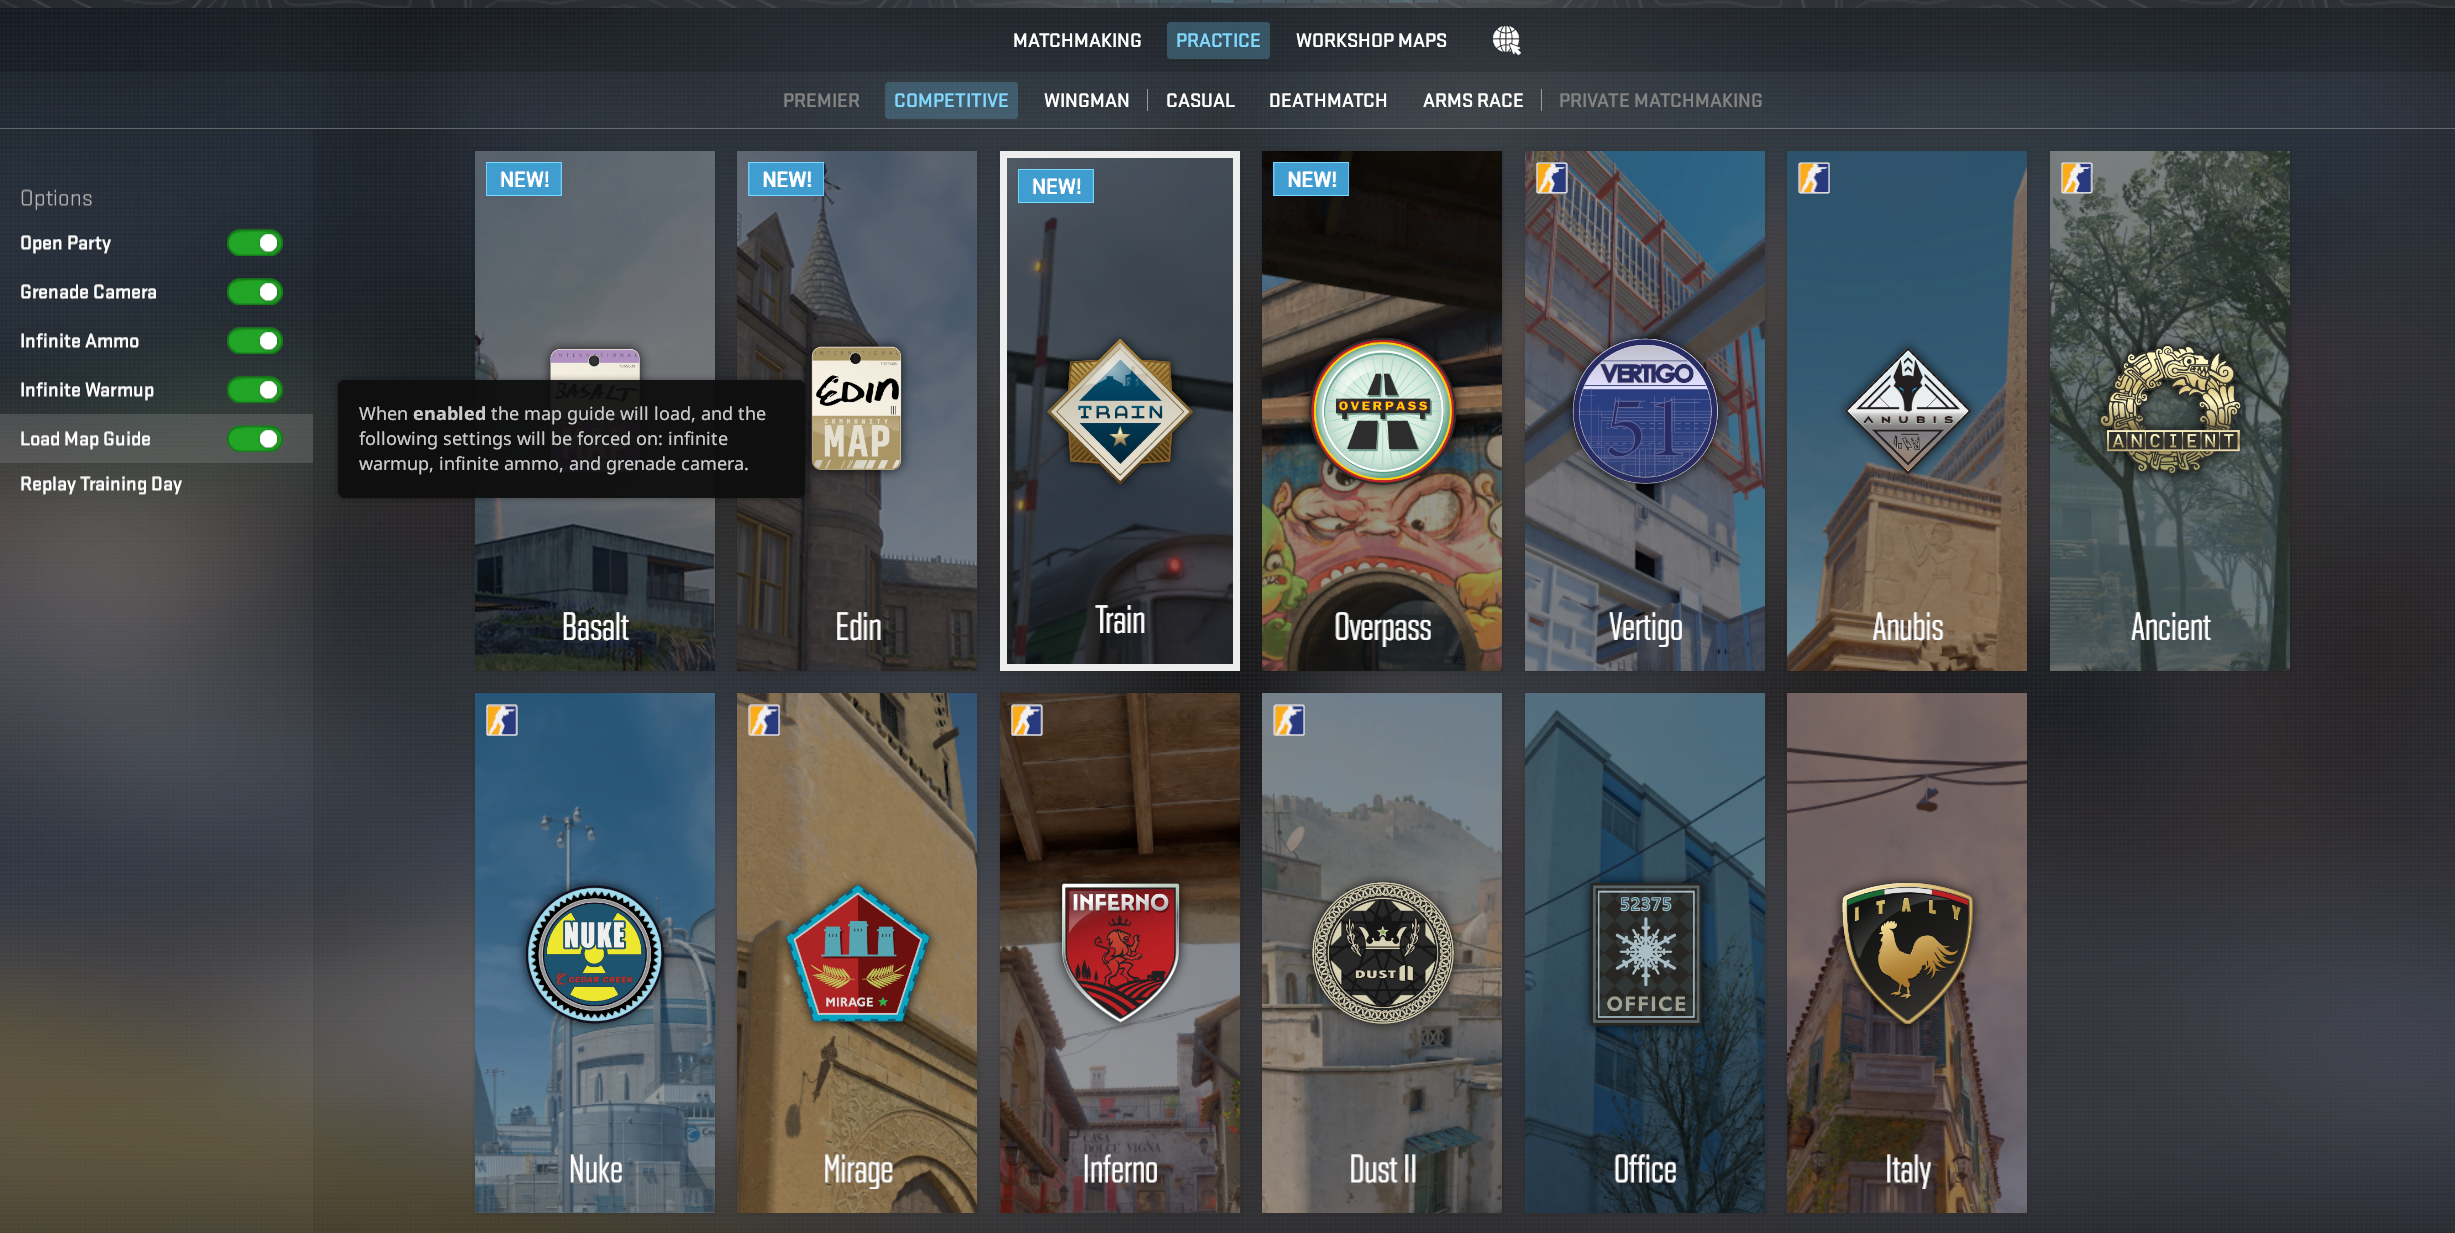
With the release of Train, Valve also added a new feature for the practice mode of the map which included a handful of smoke lineups that players can use to get familiar with the new map. This new feature is currently only for de_train however, you can still use that feature by creating your own map guides.
Creating Custom Line-up Annotations
You can use the following commands to create annotations.
sv_allow_annotations true
annotation_create grenade "name"
annotation_save filename
annotation_load filename
You need to first boot up in the practice mode of a map and use “sv_allow_annotations true” so that the feature is enabled, afterwards you need to go towards the line-up that you need to create and aim at the designated spot where you need the line-up after which you open the console again and enter “annotation_create grenade "name of lineup"“. This will create the lineup where you are standing on the map and with the lineup where your crosshair was.
Once it is created, you need to save the annotations into a file so that it can be loaded whenever you want. To save the annotation use “annotation_save filename” and load it up with “annotation_load filename”

Editing the lineups
Once you have created the annotations, you need to go to your annotations folder in the game’s directory:
Default directory is usually: C:\Program Files (x86)\Steam\steamapps\common\Counter-Strike Global Offensive\game\csgo\annotations (However you can just right click the game on steam -> Manage -> Browse Local Files)
Edit the standing and throwing instructions directly in the text file of the annotation. The text file may look a bit challenging for someone who doesn’t have any coding knowledge but it is fairly easy, just search for the name of the lineup that you have created using the annotation_create command and then just edit out the “aim instructions“ part in the line where it says Text = “aim instructions“. It should inside the Desc part of the lineup.
Each lineup that you save in the same file will be added as node so you can have 1 file for all the lineups of a single map. After editing, use “annotation_reload” to reload the changes. When you restart the map, you can load every annotation file with “annotation_load filename”
Nade Practice Config Commands
If you want to create a cfg for the commands then you would need to create a .cfg file and put it in the CS2 folder (\\steamapps\common\Counter-Strike Global Offensive\game\csgo\cfg\). The cfg can be named to whatever you like (I prefer grenade.cfg) and then add the commands in the file using any text editor/notepad. I prefer using these commands in my config files when practicing grenade lineups.
sv_cheats 1
mp_buy_anywhere 1
sv_regeneration_force_on true
sv_falldamage_scale 0
give weapon_molotov
give weapon_smokegrenade
give weapon_flashbang
god
sv_infinite_ammo 2
mp_roundtime_defuse 60
bot_kick all
Explanation for each command:
sv_cheats 1 - Needed to use some cheat commands after loading in.
mp_buy_anywhere 1 - Allows you to buy anywhere
sv_regeneration_force_on true - Allows you to regenerate your hp, helpful as godmode doesn’t work in CS2 at the moment this was written.
sv_falldamage_scale 0 - Removes fall damage as the god command doesn’t work right now. This will not help you if you jump off the map (eg, falling off the map in Vertigo)
god - Enables god mode. (Doesn’t seem to work in CS2, its better to use the above 2 commands to prevent taking damage)
sv_infinite_ammo 2 - Gives infinite ammo to toss unlimited grenades, I prefer setting the value to 2 as it allows you to drop the grenades that you don’t need.
mp_roundtime_defuse 60 - Set the round time on defuse maps to 60 minutes (Will not matter if you have unlimited warmup enabled when loading in)
bot_kick all - Kicks all bots on the map if you load into a game with bots.
You can also add the following commands if you want to but they aren’t necessary as you can just enable them before loading in:
sv_grenade_trajectory_prac_pipreview true - Enables the grenade preview camera.
sv_infinite_ammo 2 - Gives infinite ammo to toss unlimited grenades, I prefer setting the value to 2 as it allows you to drop the grenades that you don’t need.
Once you’re in the game, you just need to type “exec grenade.cfg” in order to run the commands.
Grenade Practice Binds:
Noclip
You will need to bind the following commands to help you out, you can either put them in the cfg or just bind it in the console and it should be saved the next time you load up.
bind <key> noclip
Pretty obvious command, helps you move around the map easily as you can fly through the whole map unobstructed. Bind it to whatever key you prefer, I usually use N so “bind n noclip”.
Rethrow last grenade
The next command is to repeat your last thrown grenade:
bind <key> sv_rethrow_last_grenade
As the command says; it rethrows the last grenade that you have thrown, useful for testing pop flashes or smokes as you can throw it and then go where you want. It can help you test a flash if it affects your intended location/target. Bind it to whatever key you prefer, eg if you want to use K then “bind k sv_rethrow_last_grenade”, and then you can just press the button and it will repeat the throw.

You can use the sv_rethrow_last_grenade command to test out pop flashes or incendiary spots etc
Remove Fire Effects/Smoke
Counter Strike 2 has introduced new commands that weren’t in CS:GO. There are commands to actually get rid of any grenade that are on the map so if you have missed a smoke or a molotov then you can just use their respective command in order to make it instantly disappear from the map. The commands may be cheat-protected so make sure that you have cheats enabled (sv_cheats 1).
You can just bind those commands to any key like below:
bind KEY “ent_fire smokegrenade_projectile kill;ent_fire molotov_projectile kill;stopsound”
You can replace KEY with any input that you prefer. Here are what each of the commands do:
ent_fire smokegrenade_projectile kill; - Removes the smoke grenade and its particles on the map.
ent_fire molotov_projectile kill; - Removes any molotov and its particles from the map.
stopsound - Stops the sounds that were playing. This may restart the ambient sounds that may be playing and you might hear a noticeable change in audio when using it.
The commands also exists for other grenades that you can use or add to your bind as well:
Flashbang: ent_fire flashbang_projectile kill;
HE Grenade: ent_fire hegrenade_projectile kill;
Decoy Grenade: ent_fire decoy_projectile kill;
Jump Throw Bind:
For jump throws most people have been experimenting with different ways to use jump throw binds, the alias command is controversial at the moment as tournament organizers have temporarily banned them. Some players have started using a config and executing that cfg file using a key bind instead.
Update: As of the new “A Call To Arms” update by Valve, some of the jump throw binds have started to not work. Make sure to go through your binds again to see if they are working or not, I have noticed both methods to either work or not work sometimes. The config file method seems to work as of 09/02/2024.
UPDATE 2: The 8/19/2024 update has prevented the usage of snap-tap and binds including more than 1 inputs such as jump-throw binds. According to the blog post, using them may result in being kicked from the match.
If you want to still use jump throw binds to practice grenades or on private servers then you can still use the binds by using the “cl_allow_multi_input_binds 1” command (sv_cheats 1 required).
Jump Throw using cfg file
If you do not want to do the alias method then you can try out the cfg method. In order to do that you would need to create a cfg file, lets say jumpthrow.cfg and in that cfg you put in the jump throw commands:
+jump
-attack
-attack2
-jump
Afterwards, you bind a key to execute the cfg file.
bind x "exec jumpthrow"
You can use any other key instead of x if you like, make sure to do “host_writeconfig” afterwards as well so it saves your config file.
Jump Throw Alias Binds
If you want to use the alternate method that is creating alias commands for it then you can use what most of the other people in the CS community have been using:
alias "+alpha" "+jump"
alias "+beta" "-attack; -attack2"
alias "-alpha" "-jump"
bind v “+alpha; +beta;"
As always you can replace V with any other key that you prefer. Remember that entering it in the console would require you to enter each line separately, entering them in the console may not have the bind saved for the next time you launch the game which is why some people prefer to save it in their autoexec or a separate config file.
I hope these commands help you out in learning new utility and lineups in order to improve your game. Make sure to check out our other articles or the smoke guides that we have for the maps in CS2 such as Mirage, Inferno and more.
Other Articles: